HMI SOLUTIONS
CAPACITIVE TOUCH SENSORS: More Than a Touch Screen
The World Is At Your Fingertips
Cap touch designs are ideal for providing a seamless interaction between man and machine – one that puts the end user in complete control of the experience.

CAPACITIVE TOUCH SENSORS
How Do They Work?
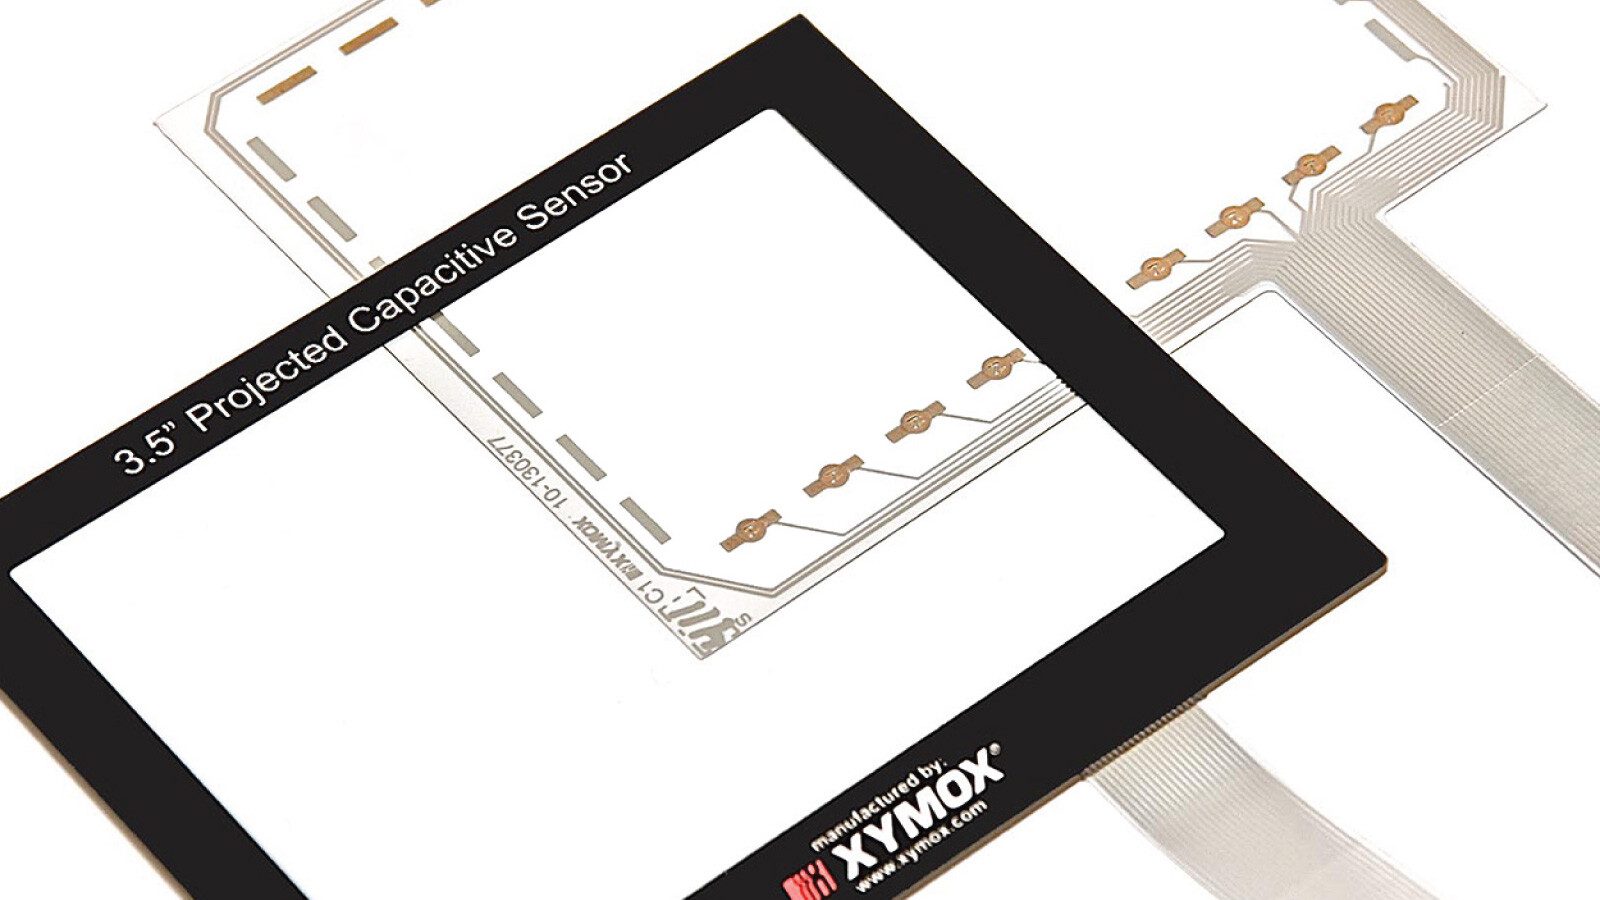
The sensor itself is an electrical capacitor, and the controller measures the capacitance of the sensor. When your finger (or anything that holds an electrical charge) approaches and touches the sensor, the capacitance of the sensor changes. The “partnership” between the sensor and the controller is critical, so the controller knows how to interpret a change in capacitance. This requires a match between the electrical conductivity of the sensor material, the efficiency of the electrical traces that connect the sensor to the controller, and the controller itself.
MATERIALS
What is PEDOT?
At the heart of a touch sensor is a material that is clear, and at the same time, electrically conductive. At Xymox, we use a material called PEDOT – a flexible polymer that adheres very well to polyester base films. We offer two customizable types of sensors, each with their own characteristics.
- Used mainly in backlighting applications
- Discrete button patterns for self-capacitive or mutual-capacitive designs
- Used over displays
- Full matrix multi-touch sensors and discrete button sensors
- Kodak HCF – Kodak’s expertise in film technology allows them to coat PEDOT perfectly onto super-clear polyester; Xymox can then process that HCF (Highly Conductive Film) into a custom touch sensor
CUSTOMIZATION
Design Choices
Our engineers and design experts are skilled at guiding you through the full array of choices and customization options.
- Matrix – a double diamond pattern that works great for gestures
- Discrete – a cost-effective option requiring less production time, they also offer specific touch points that help prevent false touches and are often favored in harsh environments
- Slider – maximizes versatility by allowing the entire X axis to serve as a touch point, while still maintaining a cost-effective approach
- Standard – off-the-shelf, comes in standard sizes (4.3″, 5.0″, 7.0″, 10.4″, etc.)
- Custom – allows for any shape and size required
- Acrylic – a durable polymer material with a scratch-resistant coating and available in standard thicknesses
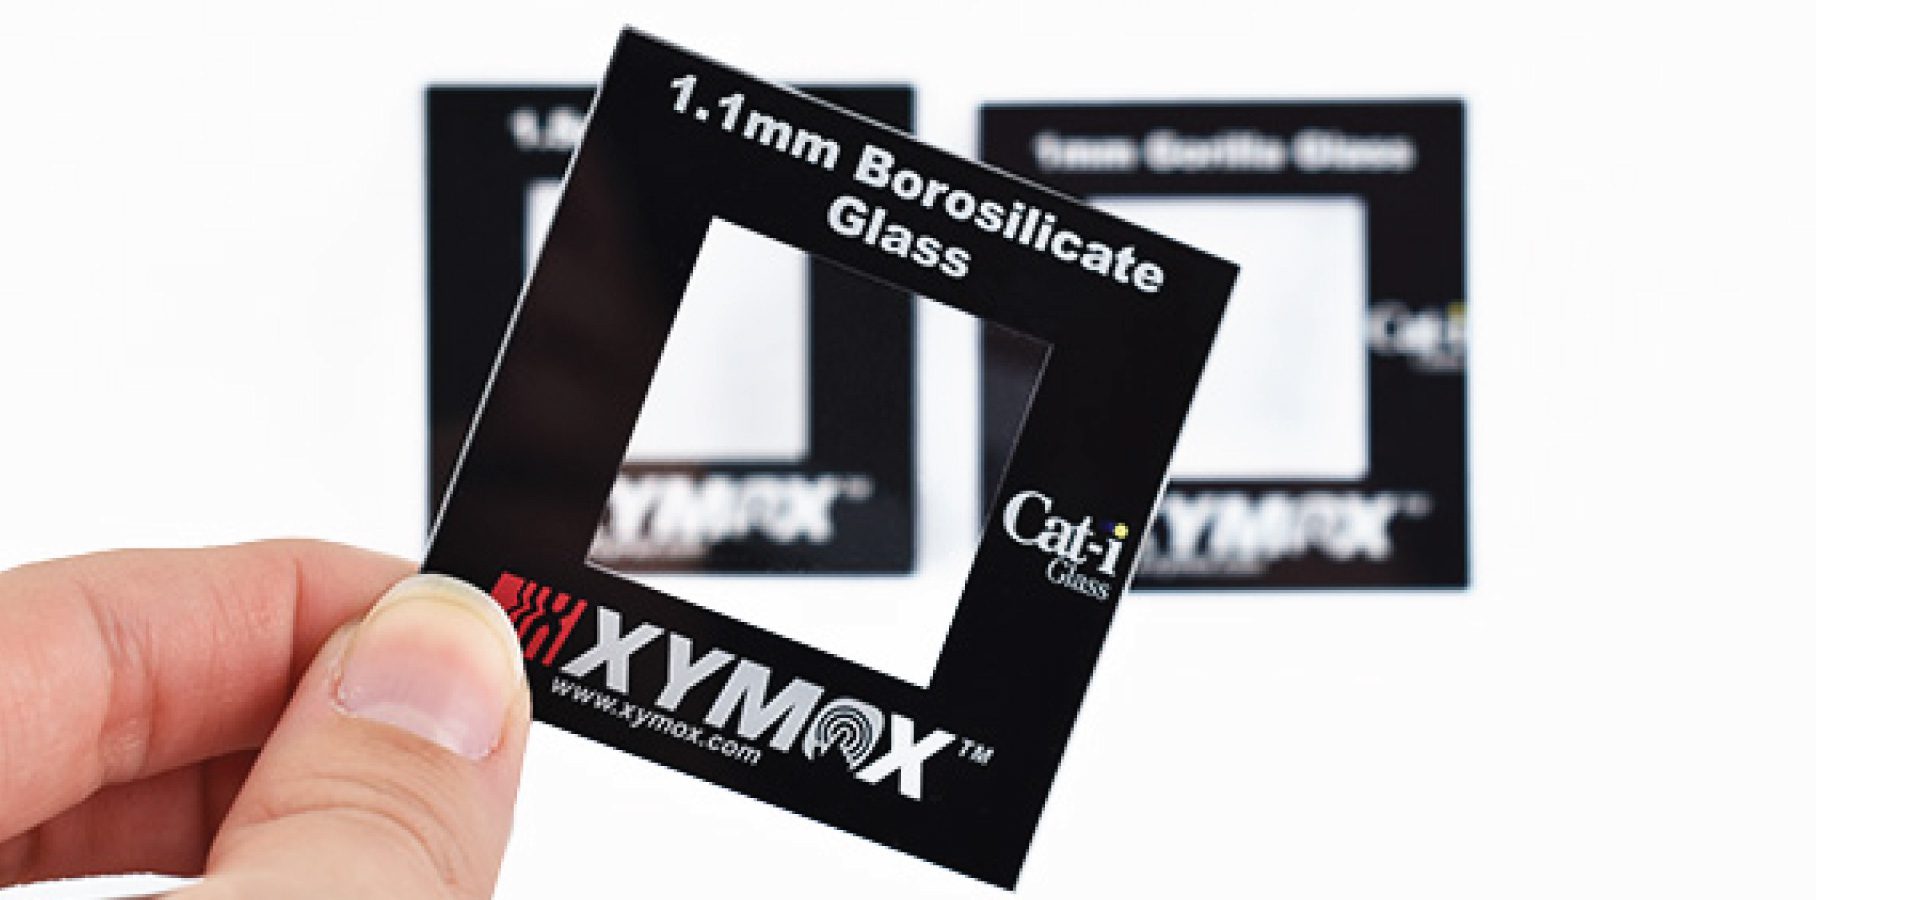
- Chemically-Strengthened Glass – provides an excellent touch surface and looks great
- Polycarbonate – provides greater impact resistance at the expense of a softer surface that can be scratched more easily
The tail connects the electrodes of the sensor to the inputs of the controller. Off-the-shelf sensors use a bonded tail with fixed length and location, often requiring the electronics to be reconfigured. A custom sensor can place the tail in almost any location on the sensor, in the exact length that best meets the requirements. Moving the tail on the sensor is often much easier than moving electrically noisy components or adding specialized shielding to those components.
The length and location of the tail can make a significant difference in the cost of the overall part, both through material costs and physical dimensions pertaining to the manufacturing configuration. By strategically positioning the tail in the optimal location, more parts can be printed per sheet, thus optimizing the cost and facilitating ideal integration with the circuitry.
There are two main ways to create the tail:
- Integrated Tail – printing conductive traces on the same polyester sheet from which the sensor is made. Think of it like an extension of the sensor itself. Integrated tails provide the most reliable connection to the sensor. Kodak HCF film with PEDOT allows for an extremely tight bend radius for final assembly – meaning the finished assembly is very durable.
- Bonded Tail – made from a different flex circuit and bonded to the sensor. This is the standard configuration for ITO sensors. You typically see the orange colored polyimide tail connected to the transparent sensor using conductive bonding materials to make the electrical connections. Generally more expensive to produce, bonded tails can also include the sensor controller directly on the tail itself (called chipon-flex or COF).
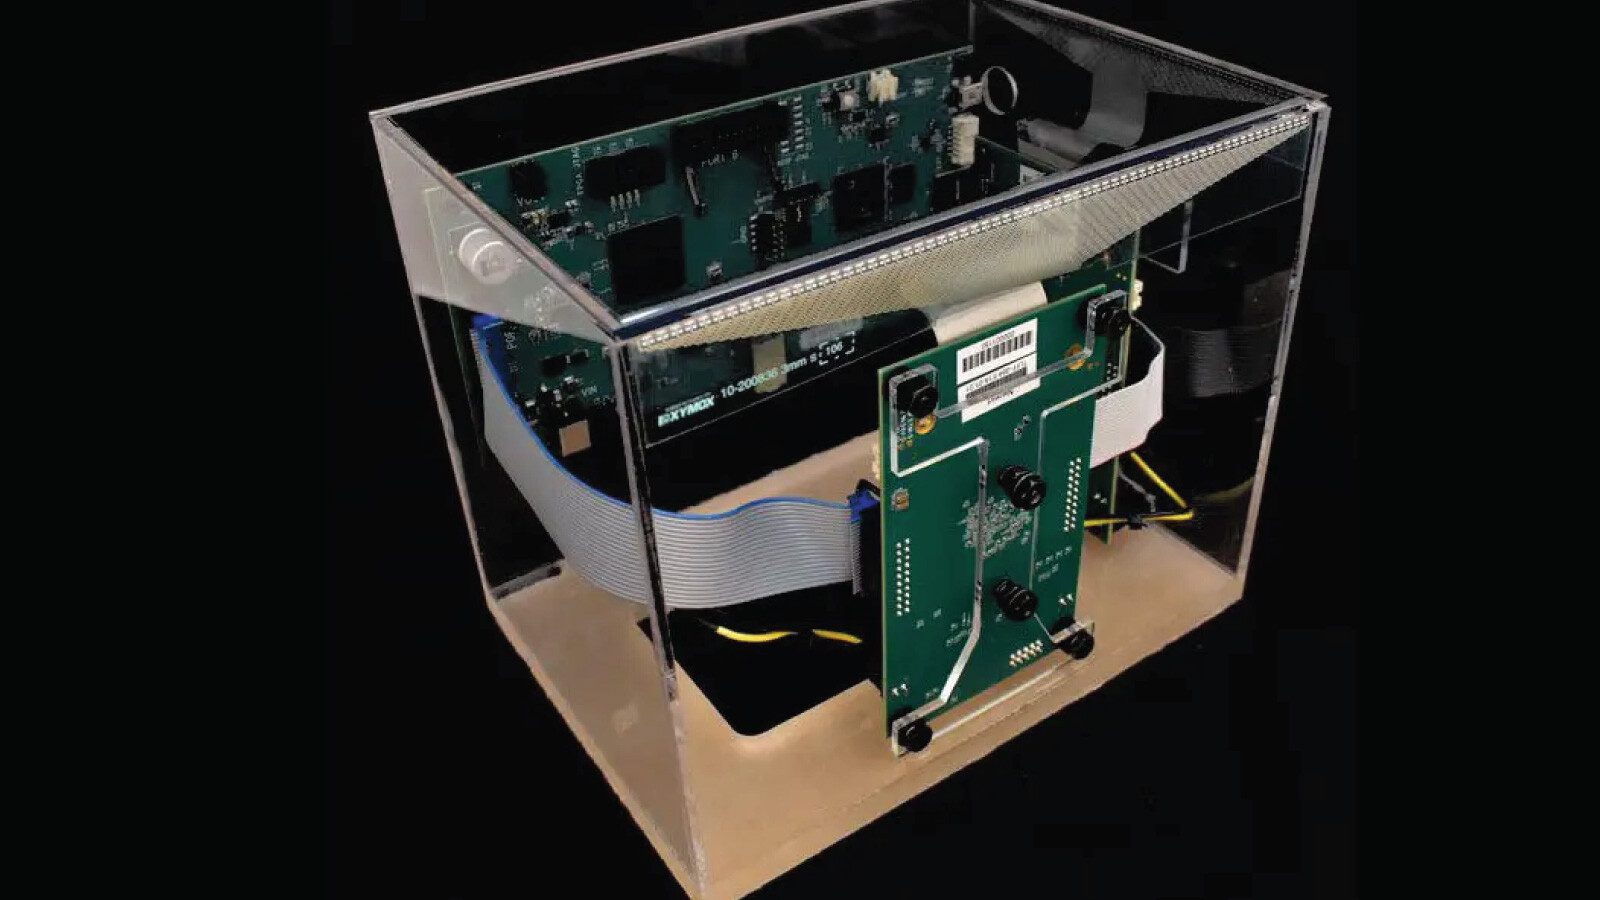
The controller is the brains of the operation. The sensor detects changes in capacitance, and the controller chip is required to interpret those changes. Most standard sensors feature a controller on a flex circuit bonded to the sensor; however, that may not always be the best configuration.
When choosing a controller, be sure to ask:
- Is this the best controller for the application?
- Are the settings in the controller optimal for the application?
In most instances, it is most economical to have the controller be part of the main control board. Placing the controller directly on the tail is only economical when space on the main board is limited.
SPECIALTY SENSORS
Flex Edge™ Sensors
When combined with the flexibility of PEDOT, our Flex Edge™ sensor
allows the edges of a sensor to be folded down to fit the form and
function of a bezel-less design. Read our blog on Flex Edge Sensors to learn more about this impressive technology.
I want to thank everyone at Xymox who worked on the capacitive sensors for us. We really appreciate the effort. It’s refreshing to see a company go above and beyond to help a customer out of a jam!
– Customer since 2015
Don’t miss our latest news…
We want to hear from you!
Contact Xymox directly for any matters pertaining to sales, customer support, media availability, or general inquiries.