You may remember the first blog post on this topic which included Snoop Dogg and rubber snakes. It was so popular, it actually brought down the website….twice. Not really, but if interested in the first segment, click HERE.
This time around we are going to look at some graphs to better appreciate how the controller determines which button is being pressed.
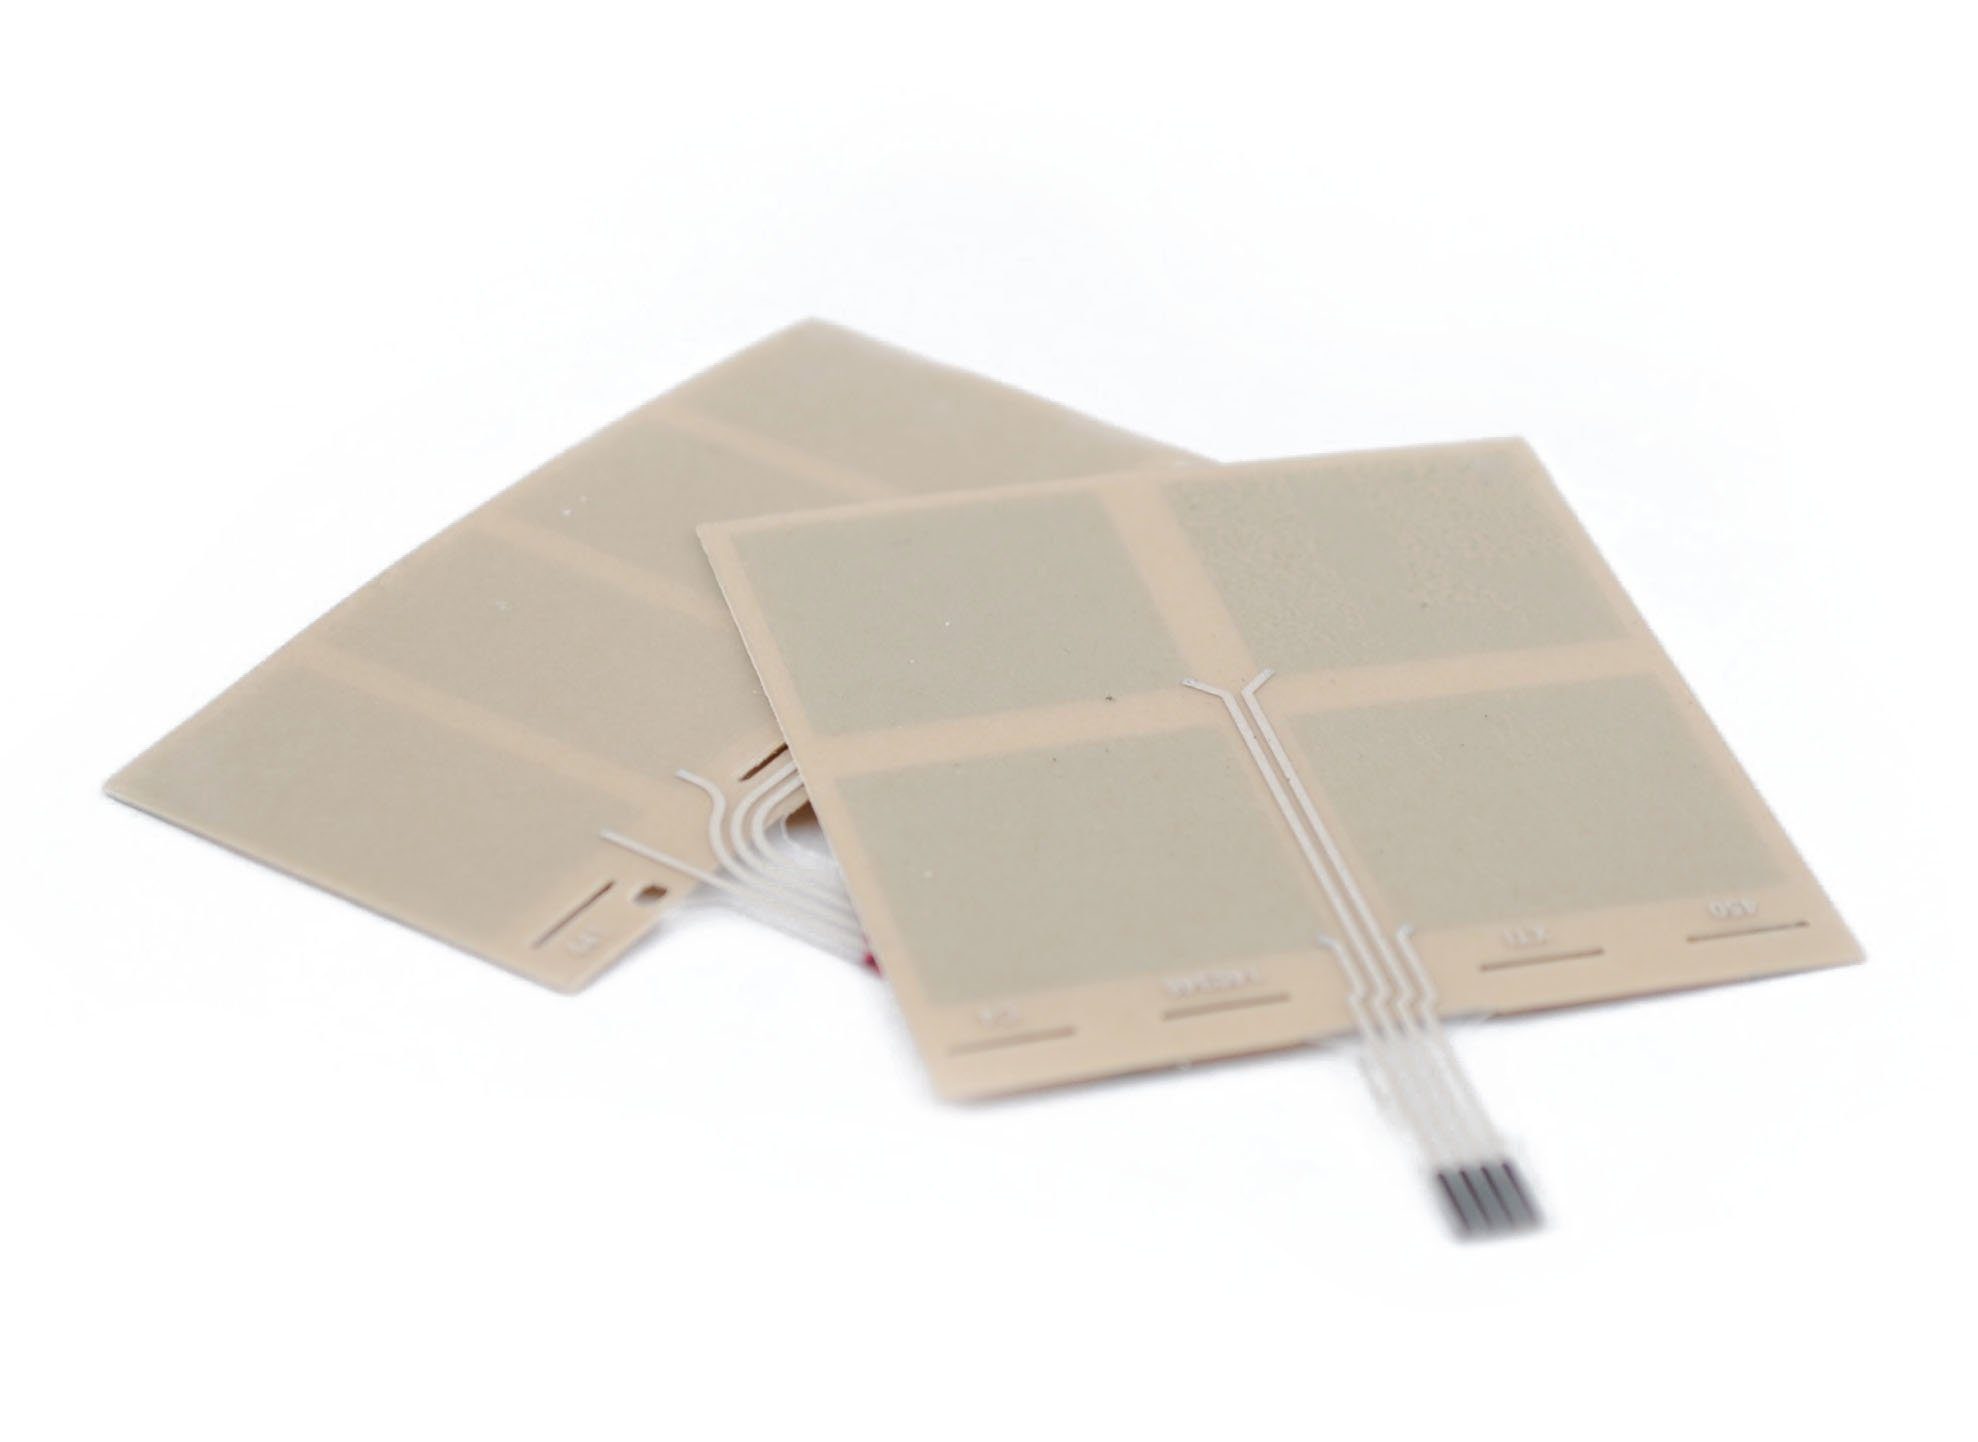
For a quick review, self-capacitive discrete style buttons are basically a big solid pad:

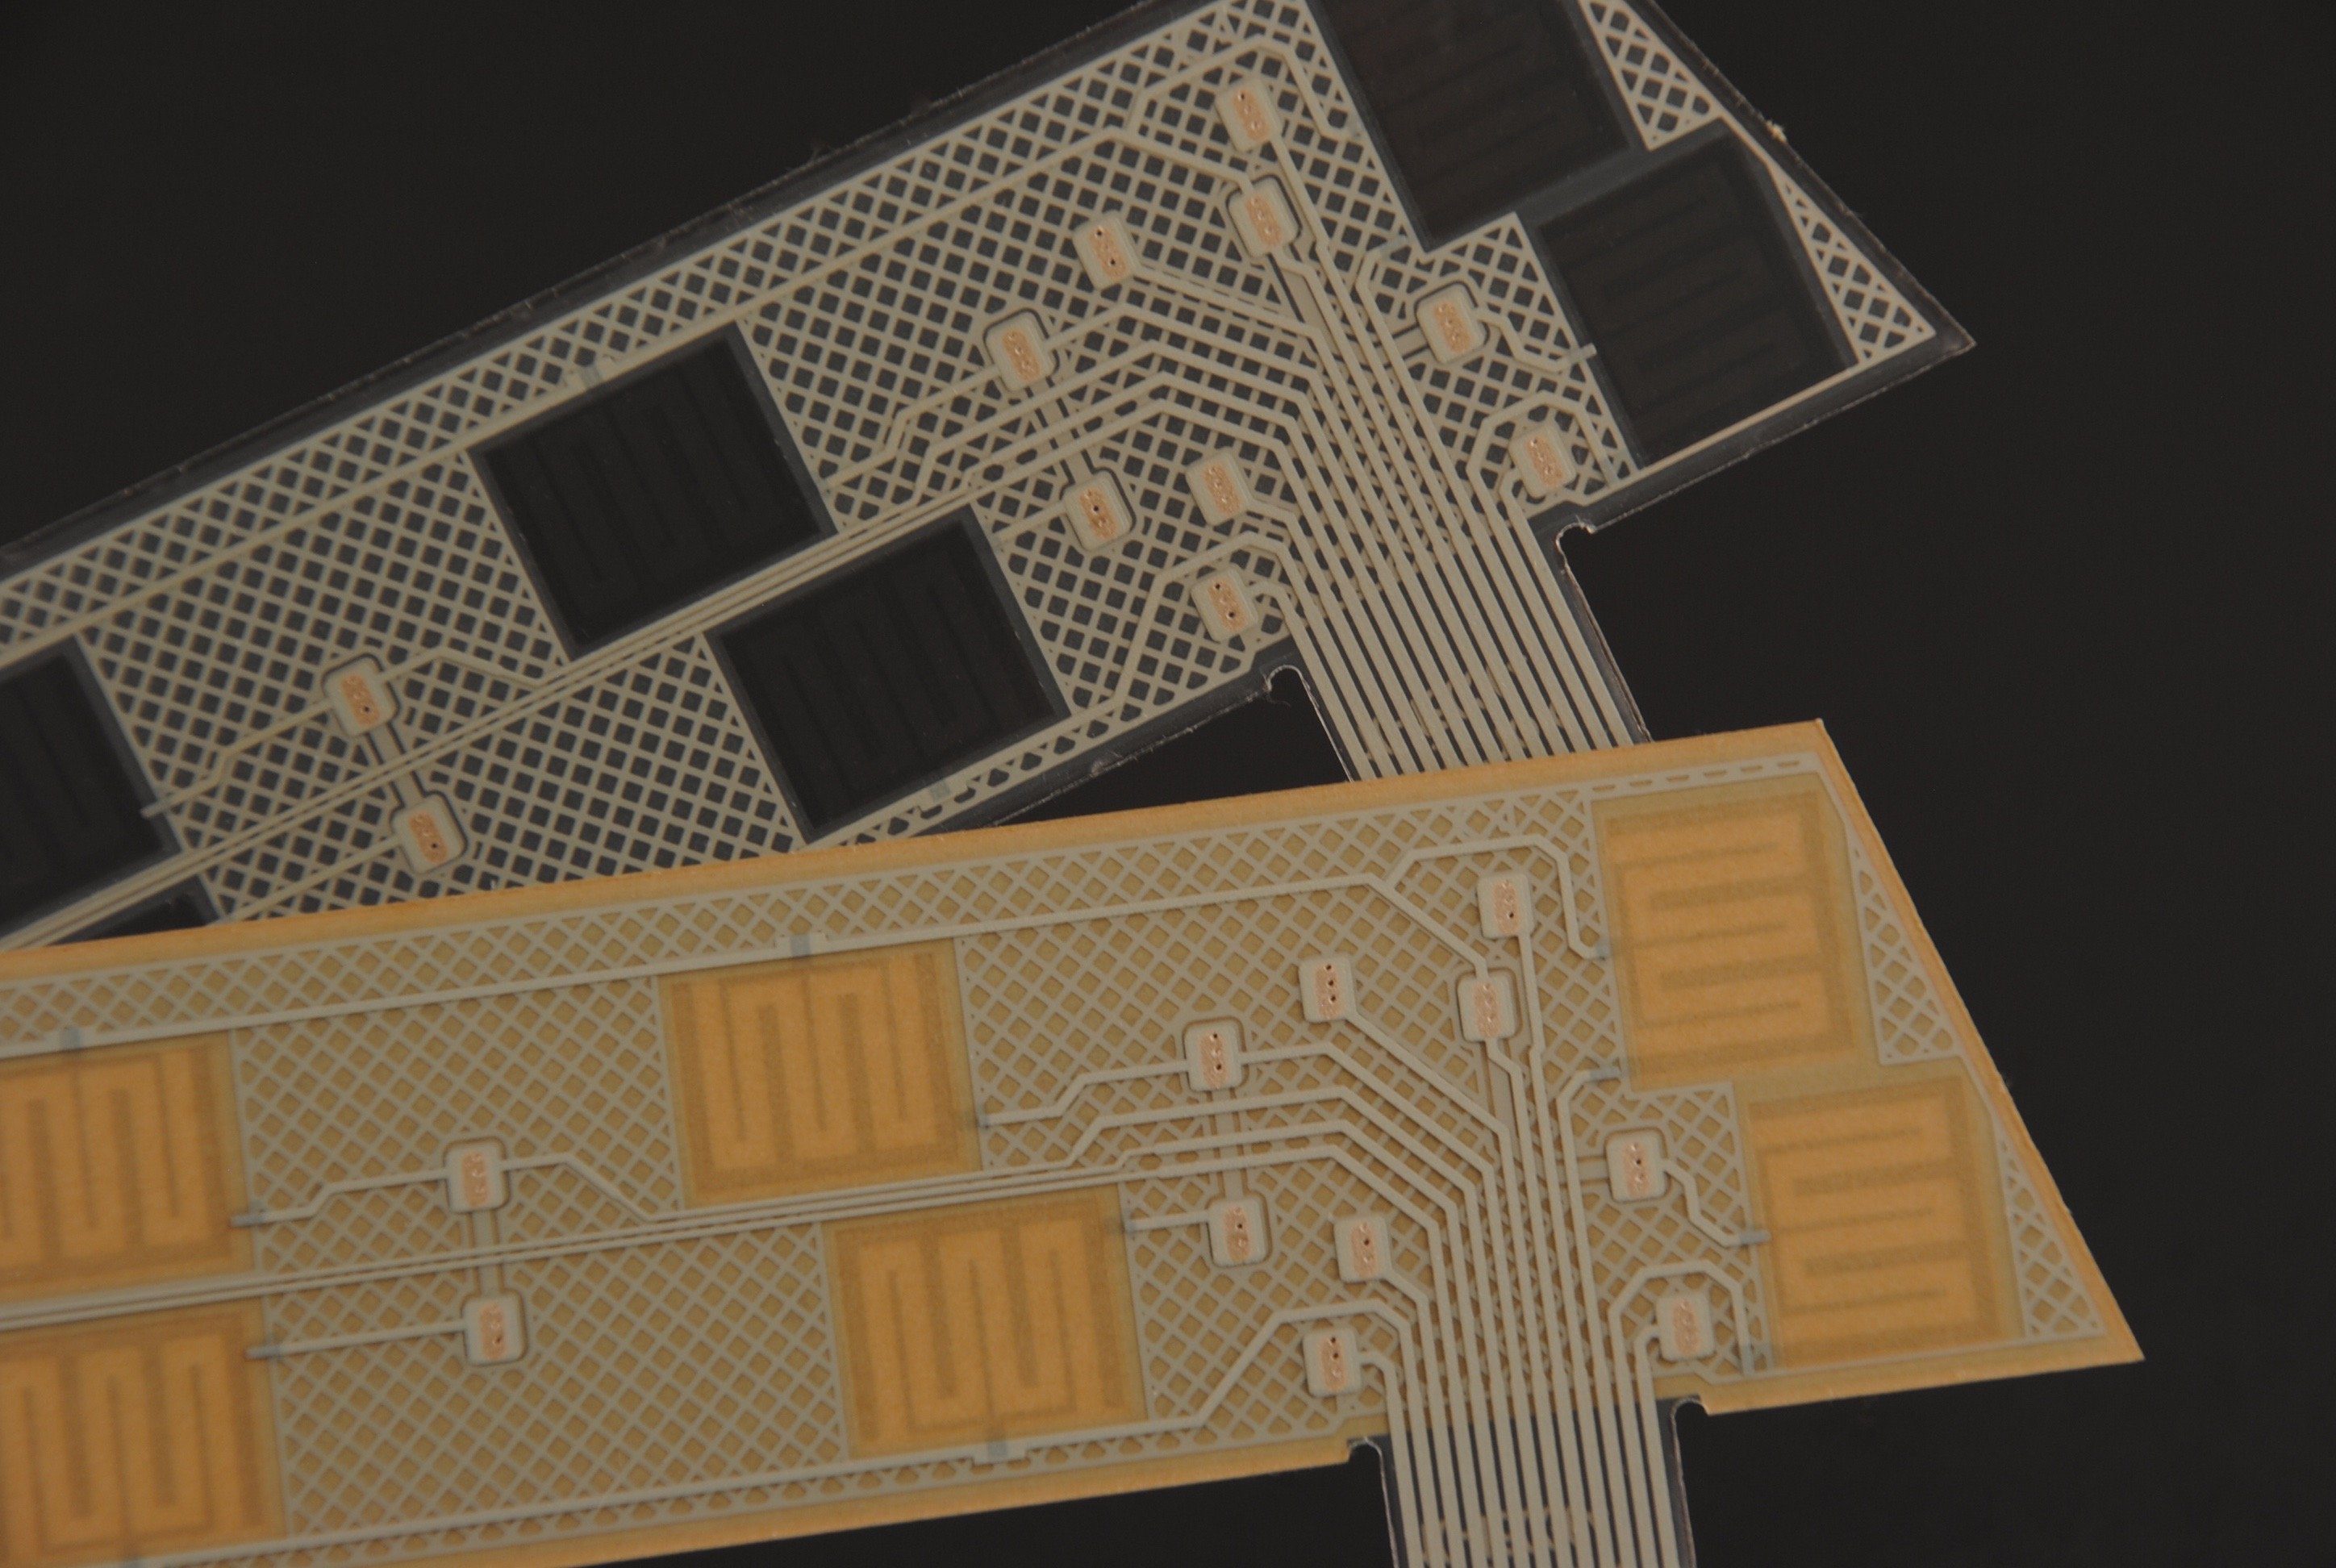
Mutual-capacitive buttons often use an inter-digitated finger design:

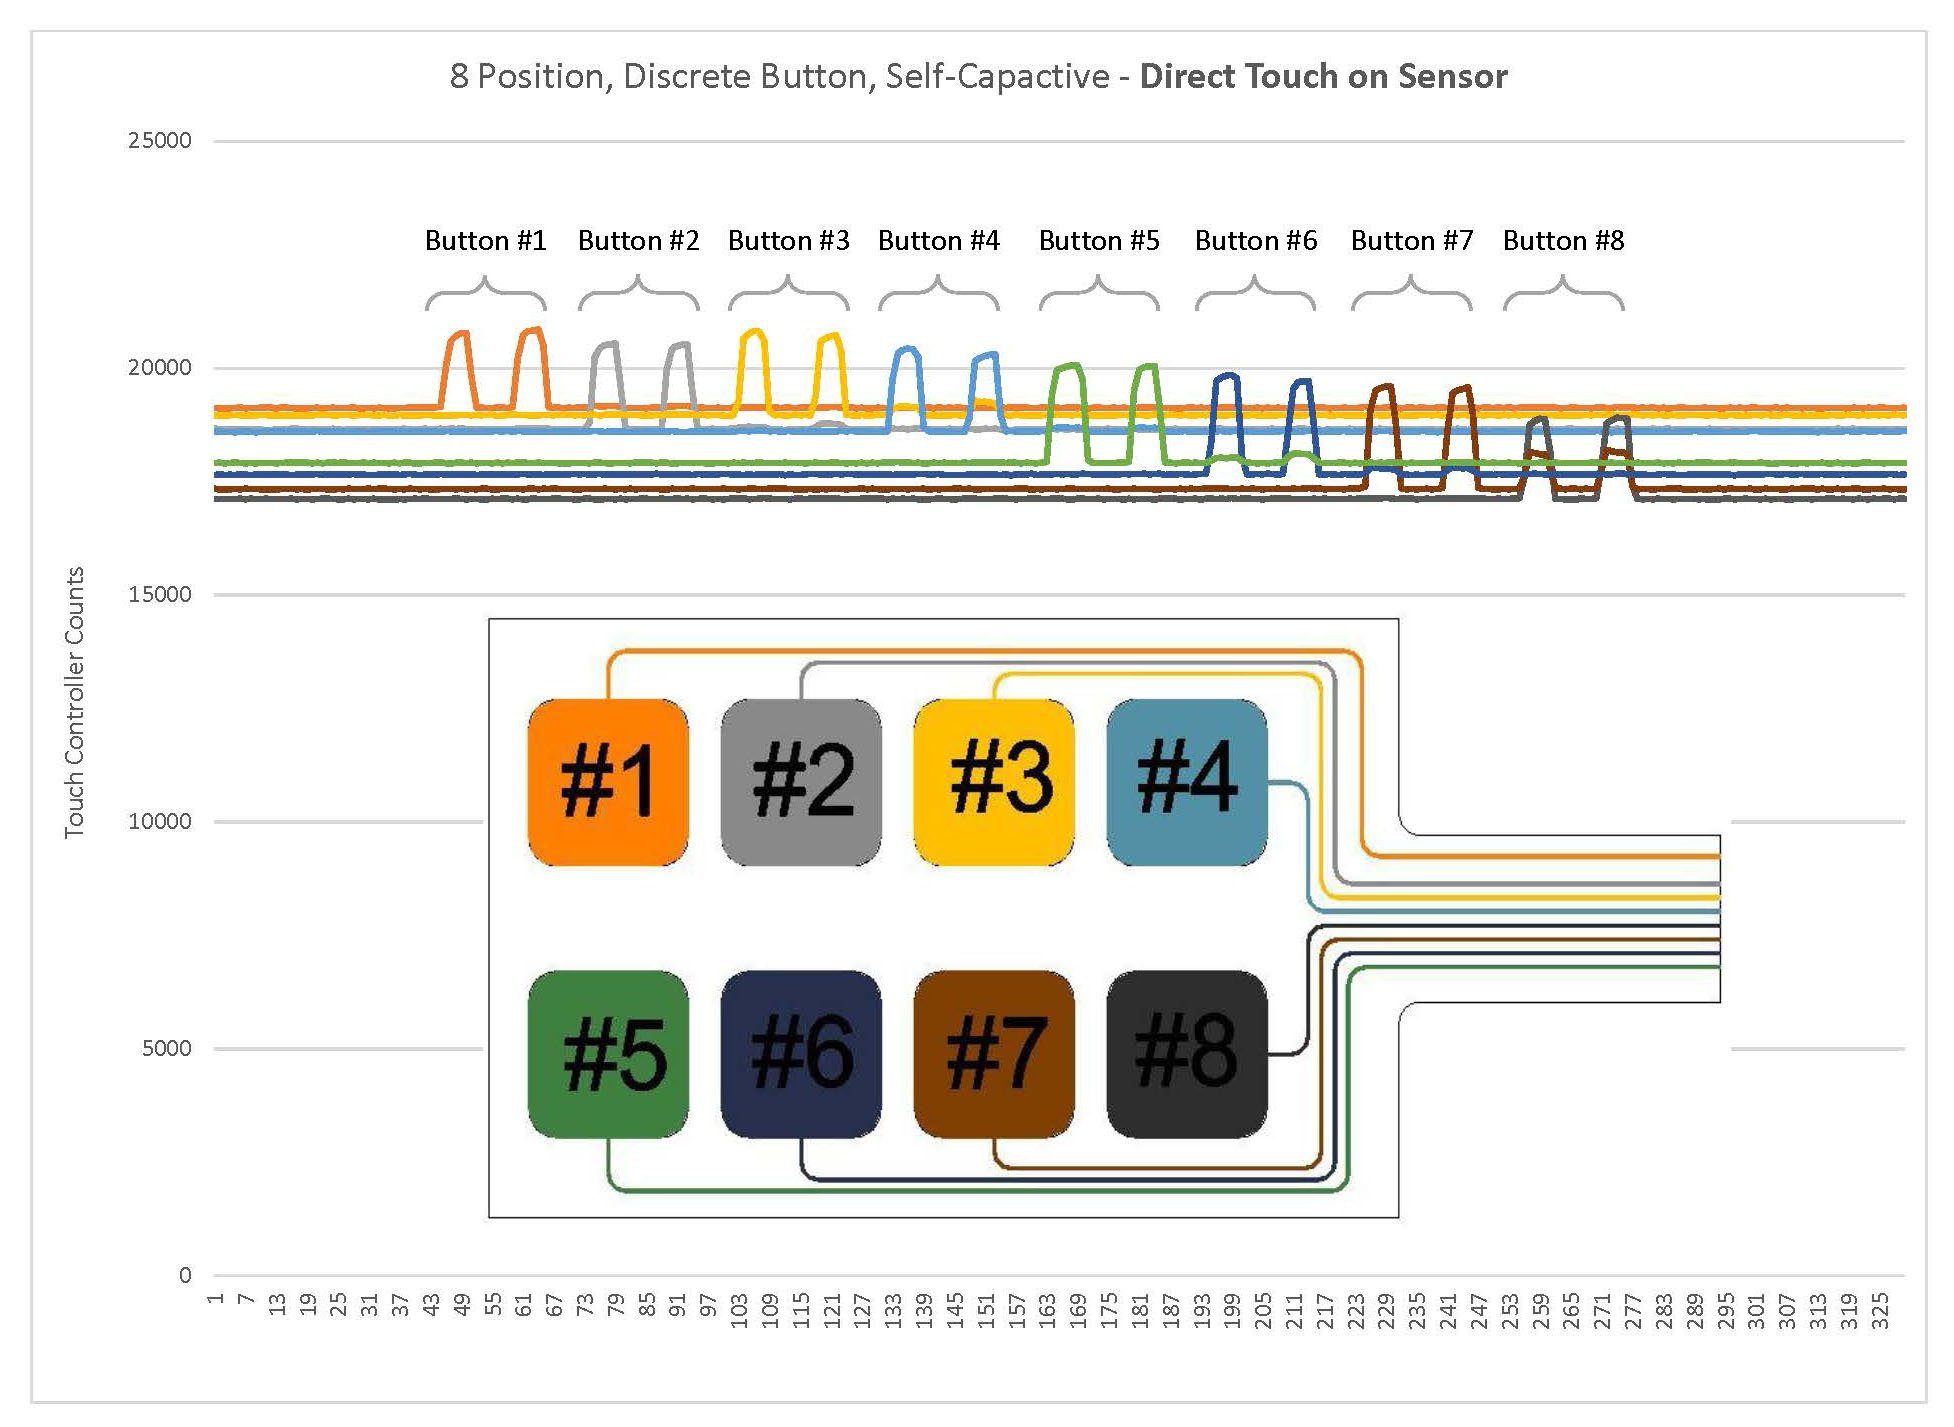
For self-capacitive (discrete button sensors), when the finger approaches the pad, the overall capacitance of the system increases. The response from the controller is an increase in the number of ‘counts’. A touch is identified by looking for a change or delta in the counts. In the below example, there are eight keys on the sensor and each pad is tapped twice.

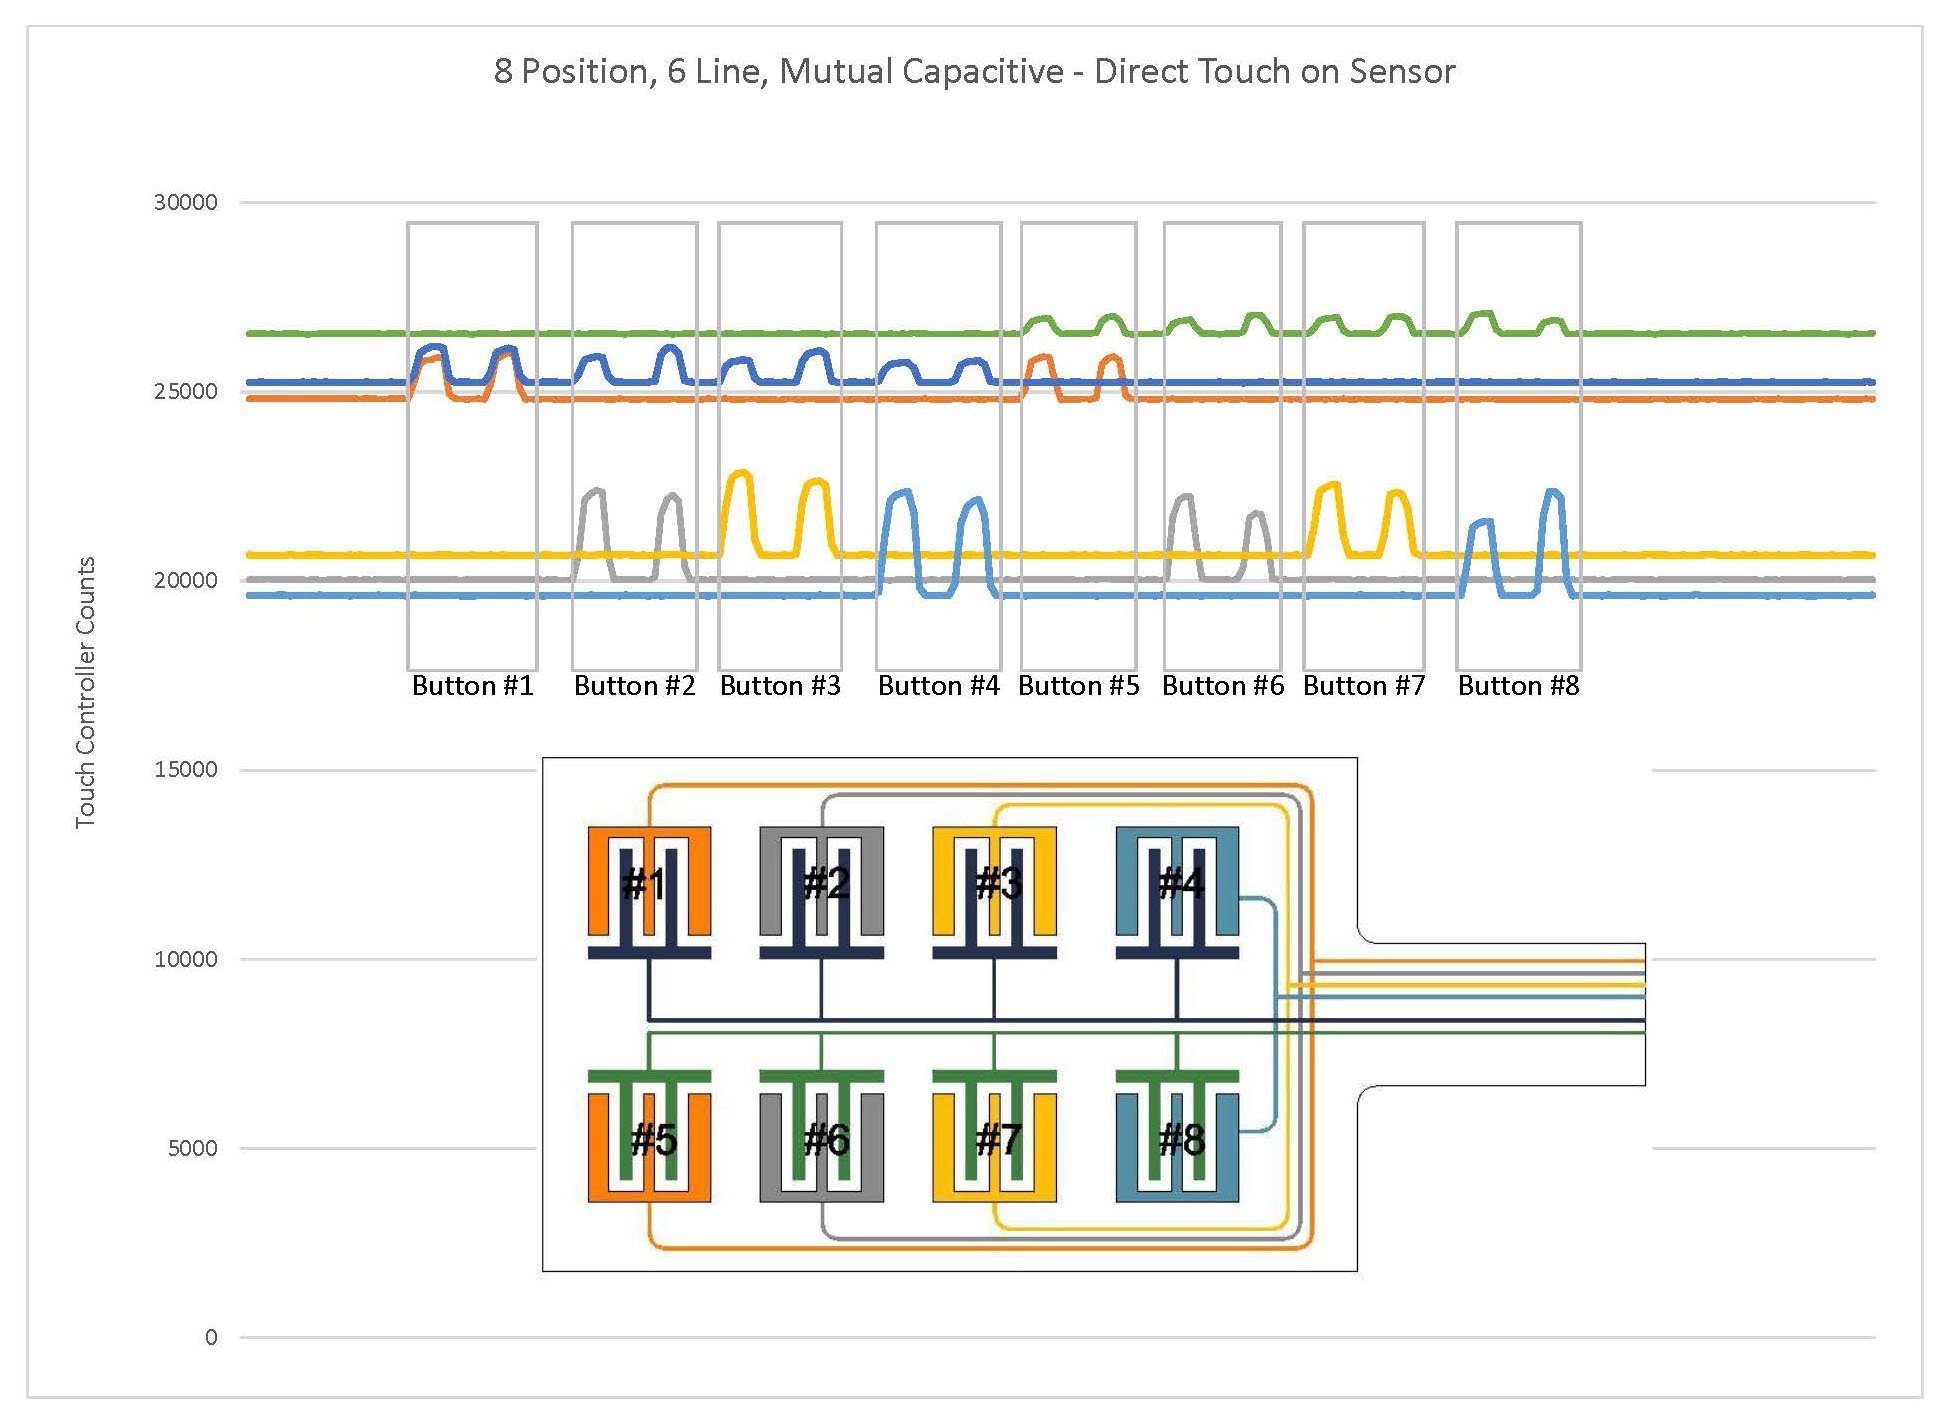
Mutual-Capacitive sensors with inter-digitated fingers function in a similar manner. However, since there are two parts of each button, one-half of the sensor transmits the signal and the other half receives the signal. Typically, all transmit electrodes operate at once and then controller reads each receive electrode separately. The below graph shows how 8 buttons can be realized with 6 lines. The total number of available buttons is dictated by the number of transmit and receive lines. For example, a circuit with 4 transmit and 3 receive lines can have a total of 12 buttons; a sensor with 1 transmit and 5 receive lines can have a total of 5 buttons. The specific combination of lines defining each button can be seen below.

Mutual-capacitive style discrete sensors can be very convenient when maximizing the number of buttons from the number of available lines. It is important to note that the complexity of trace routing can often require vias or through-holes.
Both sensor styles offer unique features to the touch screen interface, which is right for your application?
